What dimensions make up a side gusset bag?
A side gusset bag has three main dimensions:
The width is measured across the front panel. The height runs from the top to the bottom of the bag. The gusset is the folded section on each side that opens when the bag is filled.
A size may be written as:
Width × Height + Gusset
For example, a supplier might list a bag as 130 × 340 + 35 mm.
Always confirm how the supplier measures the gusset. Some specifications show the depth of one fold, while others show the total expanded gusset. Using different measurement methods can lead to the wrong finished size.
You can review the available configurations on our custom side gusset bag page.
Start with the product volume
Weight does not tell you how much space the product needs.
Whole coffee beans contain more air between each bean than ground coffee. Light snacks, pet treats and freeze-dried products can also occupy a large volume without weighing much. Dense powders usually need less space for the same weight.
Before choosing a bag, confirm:
- The target fill weight
- The product’s bulk density
- Whether the product settles after filling
- The amount of headspace needed
- Whether the bag will be filled by hand or machine
If the bulk density is known, it can be used to estimate the required volume:
Required volume = Product weight ÷ Bulk density
This calculation gives a starting point. It does not include the space needed for sealing, product movement or the final filled shape.
How much headspace should you leave?
Headspace is the unfilled area between the product and the top seal. Without enough headspace, coffee beans, powder or crumbs may enter the sealing area and cause a weak seal.
The required space depends on the filling process.
Manual filling usually needs enough room for the operator to handle and seal the bag. Automatic filling equipment may require more space so the machine can grip, open and seal it correctly.
You also need room for any added feature, such as:
- A one-way degassing valve
- A tin tie
- A resealable zipper
- A tear notch
- A hang hole
Do not place the product fill line too close to these features. Confirm their position before approving the artwork and bag dimensions.
Choosing the bag width
The width affects both capacity and shelf appearance.
A narrow bag can look tall and compact, which is common for coffee packaging. But if it is too narrow, filling becomes slower and the product may not move easily into the bottom of the bag.
A wider bag has a larger opening and may be easier to fill. It also uses more shelf space and changes the proportions of the printed design.
For automatic filling, the bag opening must match the filling equipment. Check the opening width, sealing jaws and any bag-loading restrictions with the equipment supplier.
Choosing the bag height
The bag height needs to cover three separate areas:
- The filled product
- The headspace
- The top sealing area
Do not calculate the height using the product level alone. The bag may hold the correct weight but still be too short to seal.
Extra height is sometimes useful for a tin tie or resealable feature. Too much unused space, however, can make the finished bag look underfilled.
The best size gives the product enough room while keeping the pack full and balanced after sealing.
Choosing the side gusset
The gusset controls how far the bag can expand.
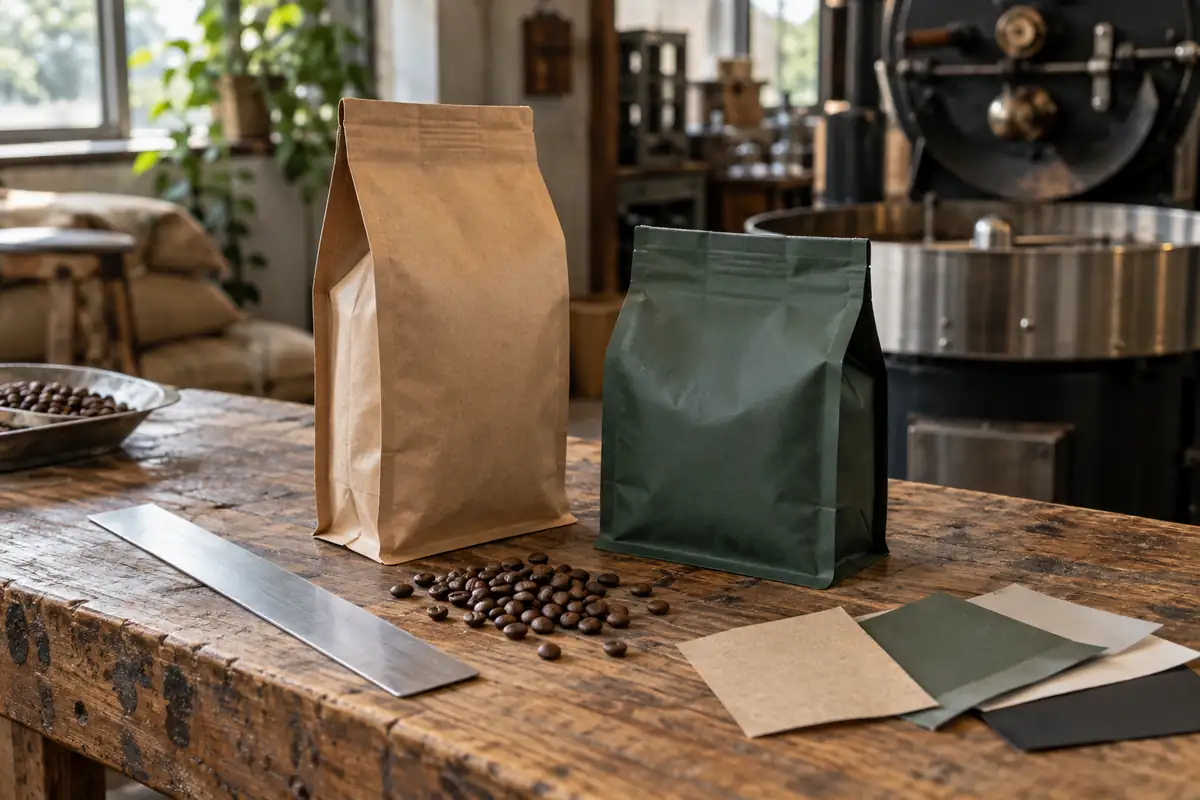
A deeper gusset adds volume without making the front panel much wider. It can also help the filled bag form the narrow, brick-like shape often used for coffee.
But increasing the gusset changes more than capacity. It affects the filled shape, artwork alignment and the way the side panels open.
Side panels can hold roast details, brewing instructions, ingredients or other secondary information. Keep text and important graphics away from the folds because the artwork may become harder to read after filling.
How to size a side gusset coffee bag
Begin with the coffee type and target weight. Whole beans, ground coffee and different roast levels do not always occupy the same volume.
Then check:
- How soon the coffee is packed after roasting
- Whether a degassing valve is required
- How much space the sealing equipment needs
- Whether the bag uses a tin tie or another closure
- How the filled package should look on the shelf
Do not copy another coffee bag’s dimensions unless the coffee and packing process are similar. A competitor’s 250 g bag may have a different bean density, material stiffness or sealing setup.
Read Why Are Side Gusset Bags a Good Choice for Coffee Packaging? for more information about valves, closures and coffee applications.
How to test the size before production
A filling test is the most reliable way to confirm the dimensions.
Use the actual product rather than a substitute. Fill the proposed bag to the target weight, remove excess air if required and close it using the intended sealing method.
Check the following points:
- Is the opening wide enough for filling?
- Does the product reach the expected fill line?
- Is the top sealing area clean?
- Does the gusset open evenly?
- Is the finished bag too tight or too loose?
- Does the bag fit its shipping carton?
- Are the valve and printed information in the correct positions?
Place the filled sample on a shelf as well. A flat sample can show the print layout, but it cannot show the final proportions of the package.
Material can change the finished size
Two bags with the same dimensions may not look identical after filling.
A stiff laminate holds a more defined shape. A softer film follows the product more closely and may spread outward. Kraft paper, metallized film and recyclable PE structures also fold differently.
Choose the material before finalizing the size. If the structure changes later, repeat the filling test.
Our side gusset bag material guide explains how product protection, stiffness and recycling requirements affect the material choice.