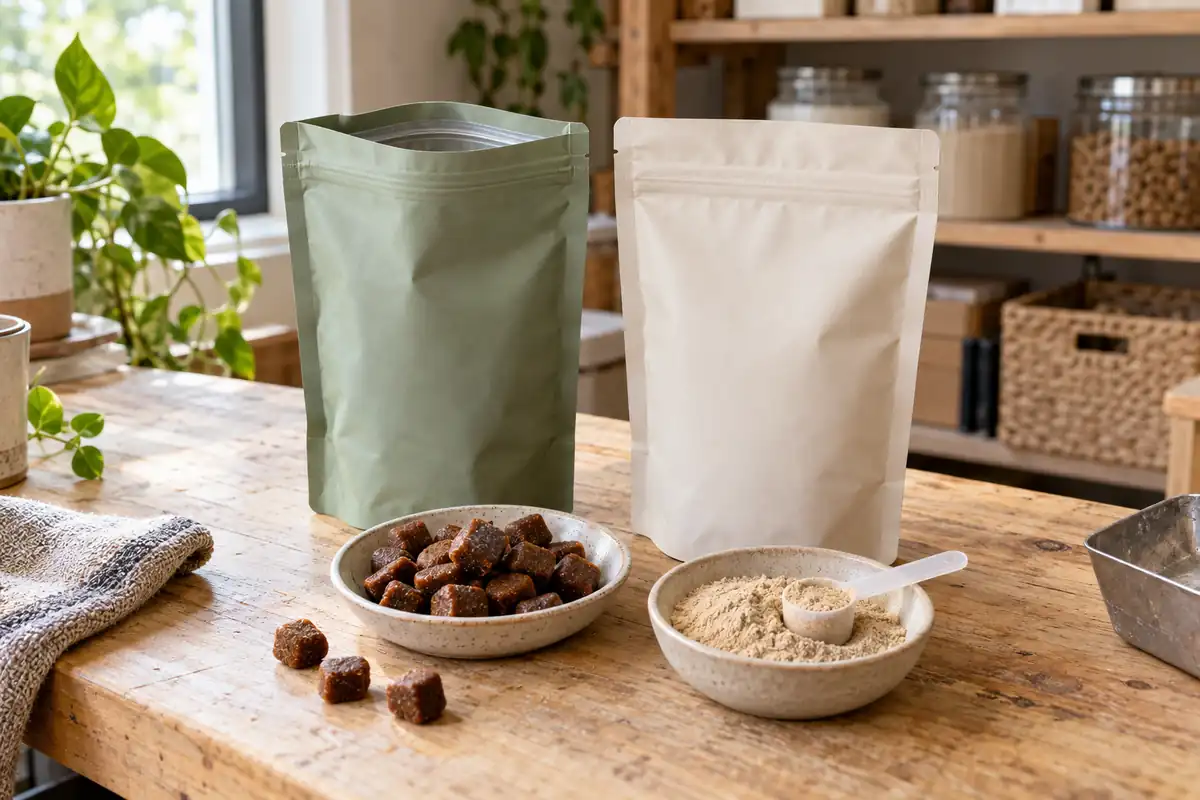
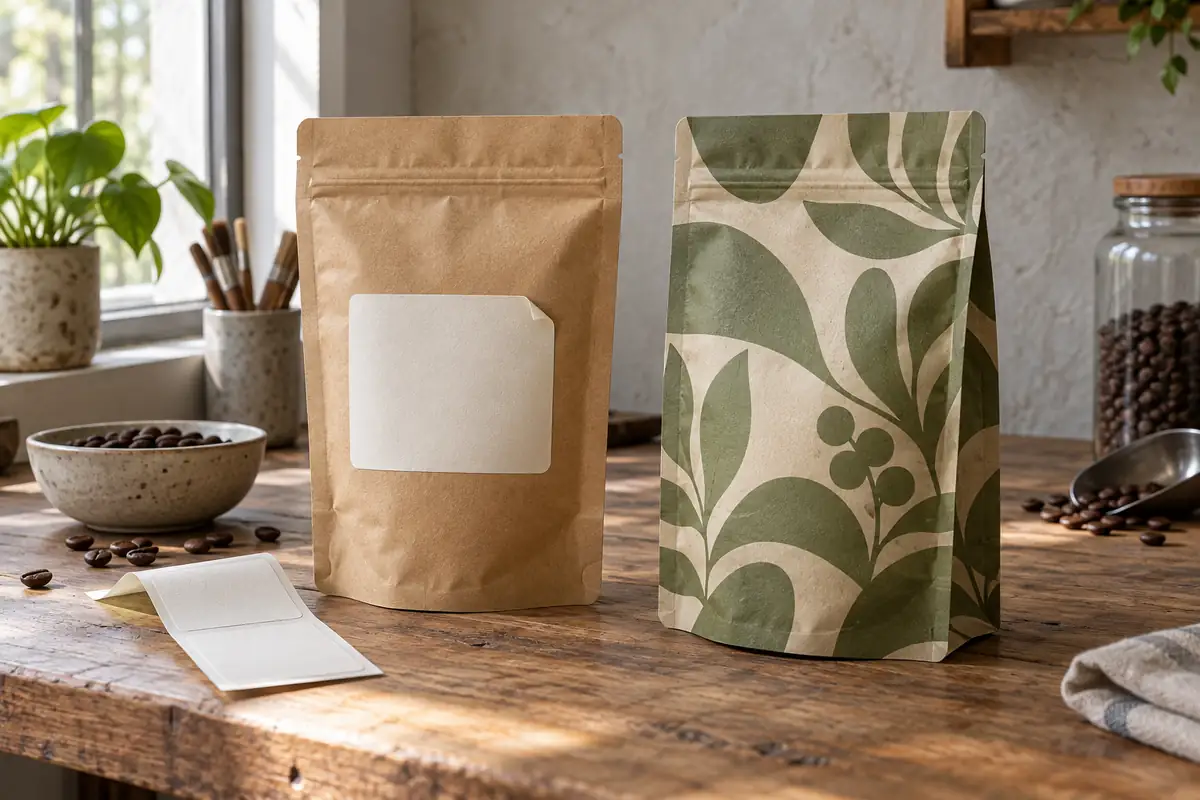
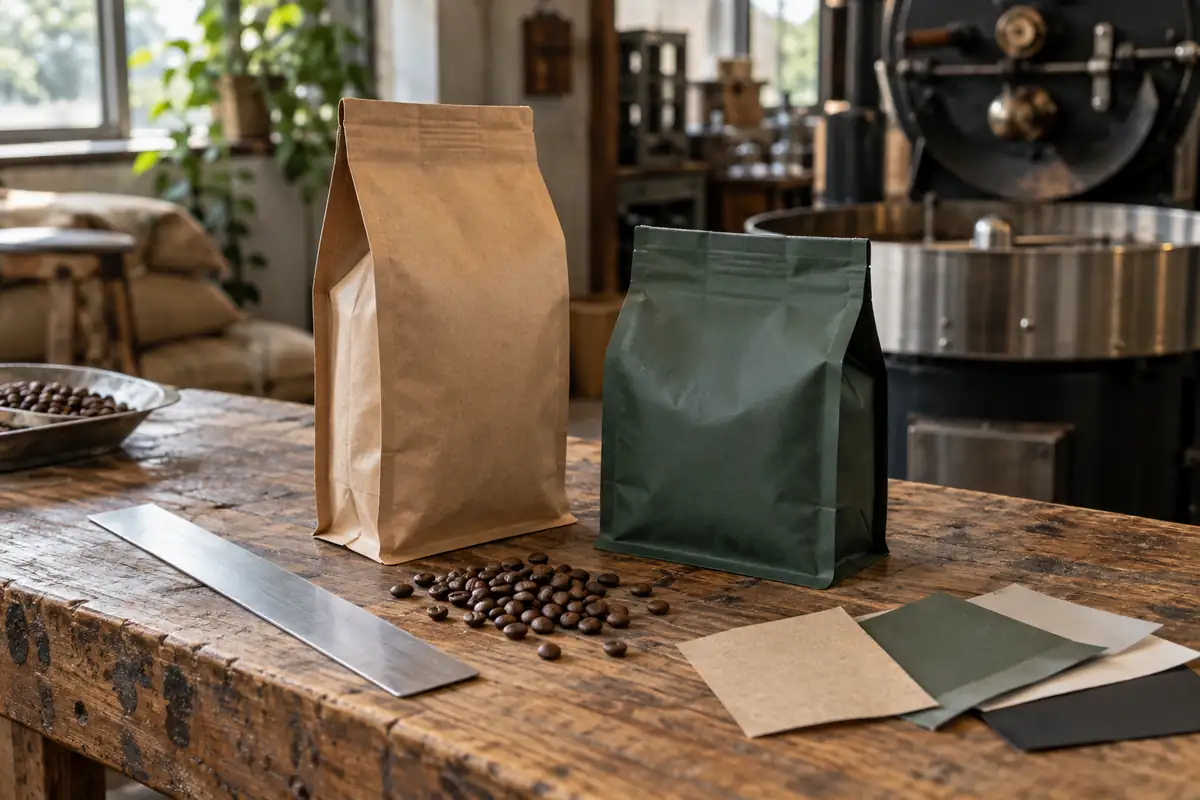
How do I narrow down the dimensions?
Start with a few questions about the filled pouch:
- How much product will each pouch hold?
- Is the product a powder, granule, or larger piece?
- How will the pouch be filled?
- Will it need a zipper, tear notch, or hang hole?
Then look at the pouch’s proportions. Width affects the opening and the space available for artwork. Height must accommodate the product and leave room at the top. The bottom gusset affects the shape of the filled base and how the pouch stands.
A taller pouch is not automatically a better fit. If it is only partly filled, the empty space may make the finished pack look different from what you expected.
Leave room for sealing
The outside height is not the same as the usable fill height. The top of the pouch needs a clear area for sealing, and a zipper takes up additional space below it.
This is easy to overlook on a small pouch. During a sample test, fill the bag to your intended weight and check where the product sits. It should stay clear of the area needed to close and seal the pouch.
Test the pouch before placing the order
Fill a sample with your product, seal it as you would in production, and place it on a shelf. Check the fill level, opening, seal area and standing shape. If you use a filling machine, confirm that the dimensions work with its setup too.
Send the supplier your target fill weight, product type, required features and any bag you currently use. These details give them a starting point for a custom size. You can see the available options on our custom stand up pouch page.